Using Cloudflare Tunnel for local development with Variant Launch
- Date
 Variant Staff
In this tutorial, we’ll show you how to use cloudflared tunnels to improve your development experience with Variant Launch.
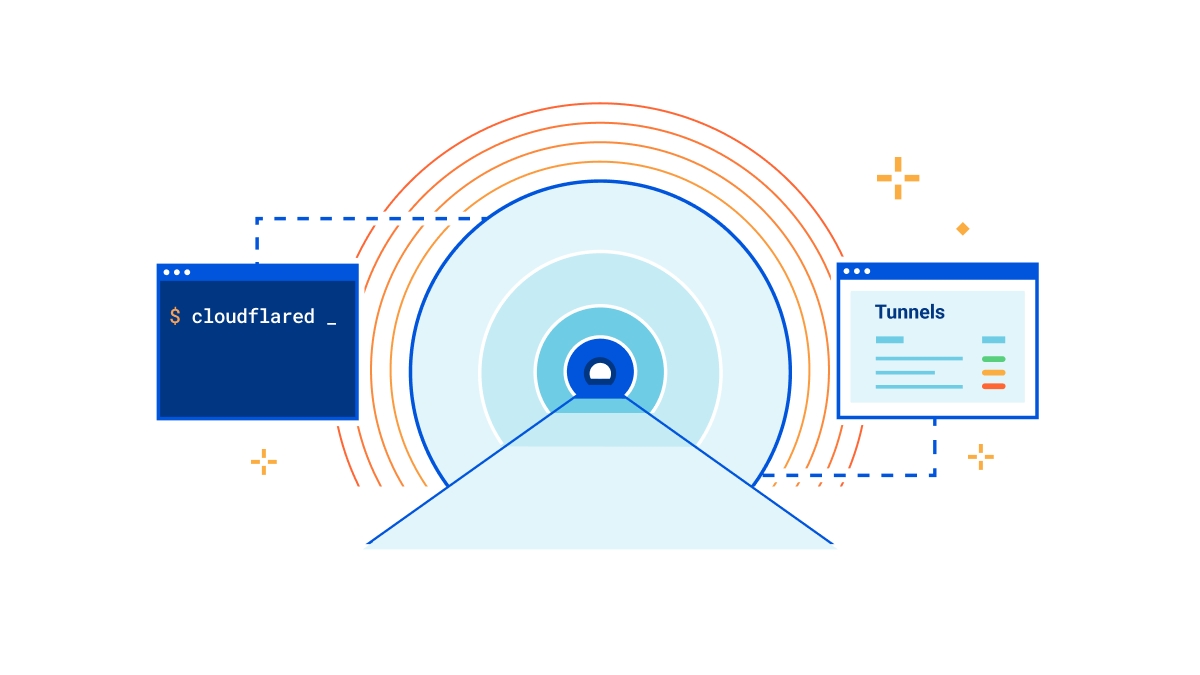
Why are tunnels useful?
Variant Launch uses the Launch Viewer App Clip to enable WebXR on iOS. Testing on a third-party app clip can be difficult as you need a proper SSL certificate - not a self-signed certificate as you may be used to creating via npm run serve.
Cloudflare Tunnels are a great way to get around this issue. They allow you to create a secure tunnel to your local development server with a full-fledged SSL cert, which you can then access on your iOS device.
We’ll cover two main setups:
- Quick and Easy - No Cloudflare login required, just download and run cloudflared with sensible defaults. ~3 minutes to setup.
- Long-term development - Connect cloudflared to a subdomain on cloudflare.com for a fixed URL and a more stable development setup. ~10 minutes to setup.
Quick and Easy
Follow these steps for a quick and easy setup without requiring a Cloudflare account.
Step 1: Install cloudflared
First, download the cloudflared binary for your operating system from the official Cloudflare website.
For macOS, you can use Homebrew:
brew install cloudflare/cloudflare/cloudflaredFor other systems, follow the instructions on the download page.
Step 2: Run cloudflared
In your terminal, navigate to the directory containing your Variant Launch project, and run the following command:
cloudflared tunnel --url http://localhost:YOUR_PORTReplace YOUR_PORT with the port number where your local server is running.
Step 3: Create your Variant Launch debug URL
Once you run the command, cloudflared will generate a unique URL that you can use to access your project on your mobile device. The URL will look something like this:
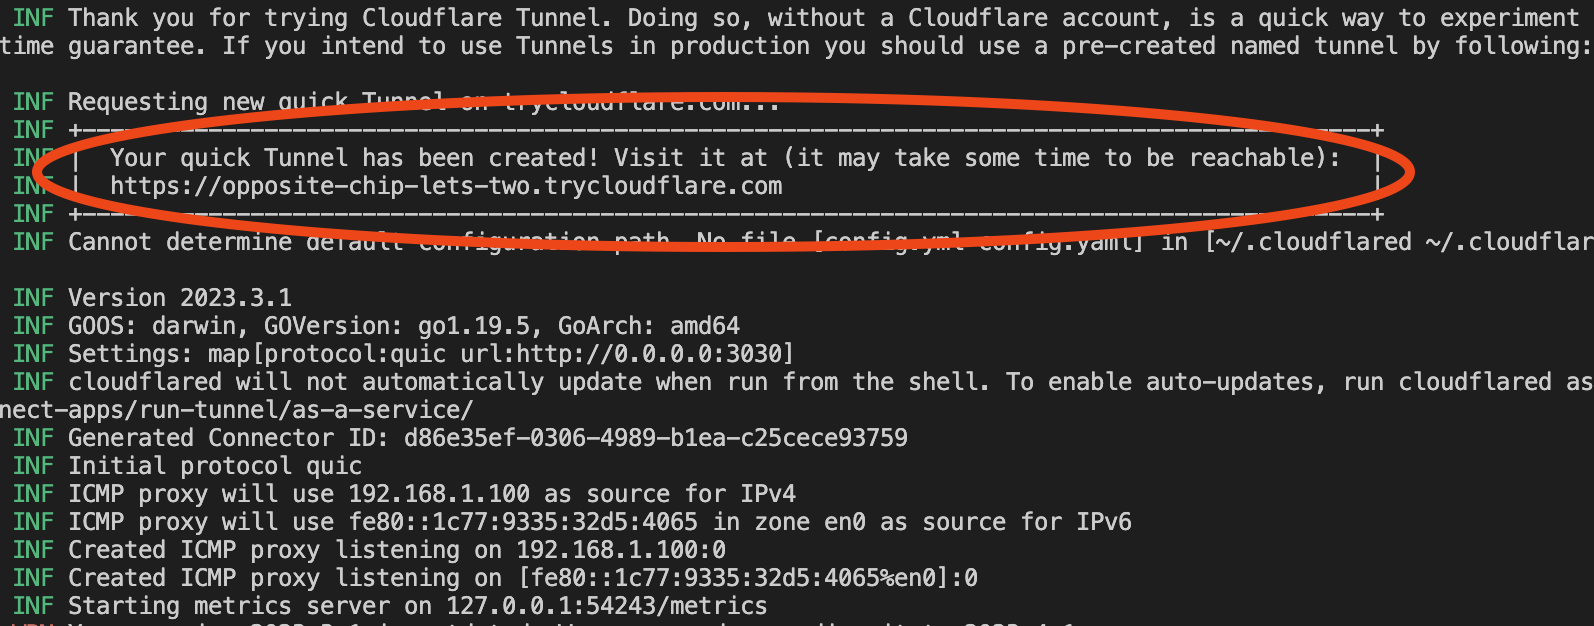
Start your local dev server as usual in another terminal (don’t use https:// as the tunnel will be handling it).
Copy the trycloudflare.com URL above into your Launch Code generator in your Project Settings and open the resulting link/QR on your iOS device to test your Variant Launch project. The ‘trycloudflare.com’ domain is automatically whitelisted, so you don’t need to add it to your Authorised Domains.
Note: The URL changes every time you run the cloudflared tunnel command. To set up a permanent URL, follow the instructions in the Long-term Solution section.
Long-term Development Solution
For a more stable development setup, follow these steps to connect cloudflared to your own subdomain on cloudflare.com.
Step 1: Create a Cloudflare account
If you don’t already have a Cloudflare account, sign up for a free account at cloudflare.com.
Step 2: Add your custom domain
Follow the instructions on Cloudflare’s dashboard to add your root domain and configure your DNS settings.
Step 3: Install cloudflared
Download the cloudflared binary for your operating system from the official Cloudflare website.
For macOS, you can use Homebrew:
brew install cloudflare/cloudflare/cloudflaredStep 4: Authenticate cloudflared
Run the cloudflared login command, and follow the steps in your browser to login. This will create a credentials file that cloudflared will use to authenticate with Cloudflare.
cloudflared tunnel loginStep 5: Create a tunnel
In your terminal, run the following command to create a new tunnel:
cloudflared tunnel create my-tunnelThis command will create a tunnel with the name my-tunnel. You can replace my-tunnel with any name you prefer.
Step 6: Configure the tunnel
Create a new configuration file called config.yaml in the cloudflared directory:
tunnel: TUNNEL_ID
credentials-file: /path/to/credentials-file.json
ingress:
  - hostname: dev.custom-domain.com
    service: http://localhost:YOUR_PORT
  - service: http_status:404
Replace the following:
TUNNEL_IDwith the tunnel ID returned by thecloudflared tunnel createcommand./path/to/credentials-file.jsonwith the path to the credentials file you downloaded earlier.dev.custom-domain.comwith a subdomain on the custom domain you added to your Cloudflare account.YOUR_PORTwith the port number where your local server is running.
Step 7: Configure the tunnel DNS
In your Cloudflare account, navigate to the DNS tab for your custom domain. Add a new CNAME record for your subdomain with the name set to the subdomain, and set the target to your tunnel ID followed by .cfargotunnel.com.

Step 8: Run the tunnel
In your terminal, navigate to the directory containing your Variant Launch project and the config.yaml file you created. Run the following command:
cloudflared tunnel runThis command will start the tunnel using the configuration you specified in the config.yaml file. You must keep this terminal open while developing.
Step 9: Test your project
Start your local dev server as usual in another terminal (don’t use https:// as the tunnel will be handling it). Open the custom domain you added to your Cloudflare account to confirm your server is accessible (server logs will show up in the terminal). Don’t forget to add your custom dev domain to the Authorised Domains list on your Project Settings.
Now you can develop your Variant Launch project using a fixed URL for a more stable development experience.
Tunnels and Caches
Cloudflare will respect cache headers from your server (e.g. if you set TTL to 4hrs, you will see up to 4hr old files via the tunnel). Most dev servers will correctly omit cache headers, or explicity set no-cache, but if you are seeing outdated files check your dev-server and cloudflare setup for your domain.
If you are having issues, you can force cache-bypass for the tunnel by adding a Page Rule to your domain:
Match: dev.example.com/* (matches all files and pages)

Setting: Cache Level (Bypass)
Getting Help
Cloudflare has exhaustive docs for tunnels available here. The FAQ is a great place to start if you run into any issues.
Conclusion
In this tutorial, we’ve shown you how to use cloudflared tunnels for both a fast setup and a long-term solution when developing with Variant Launch. With these tools, you’ll have a smooth and efficient development process for your WebAR projects. Happy coding!